
Tools
-
-
Newer Filastruder kits use Socket Cap Head Screws, use them in place of all button head screws in this section unless noted.
-
-
-
Before you bolt the Y Carriage onto the Y rail, double check that all the brass inserts are in.
-
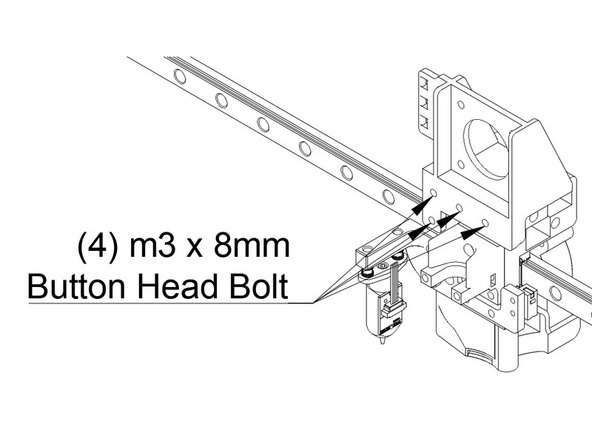
Bolt the Y Carriage to the Y rail using (4) m3 x 8mm button head bolts. (Socket Cap Head Screws will not work here, use Button Head regardless of the kit you're building) Make sure they're snug.
-
You may want a dab of loctite on the bolts for attaching the Y carriage to the Rail, they're hard to get to later.
-
-
-
Remove the wiring that comes pre-installed on the bltouch by disconnecting the connector. The kit wiring harness has a connector, these wires are not needed.
-
Put (2) m3 x 20mm Button Head Bolts pointing up through the holes in the BLTouch.
-
Thread a brass insert down on the bolt, tight against the bltouch.
-
Pass the bolt up through the BLTouch mount
-
Put an m3 washer on the bolt, and then an m3 Nylock Nut.
-
-
-
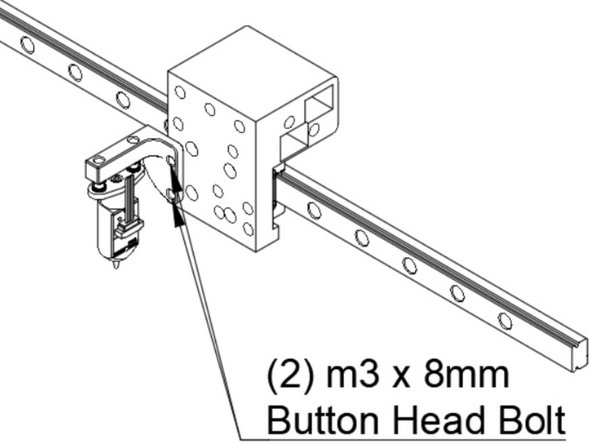
Attach the BLTouch mount to the lower left two holes in the Y carriage using (2) m3 x 8mm Button Head Bolts.
-
-
-
Locate the layer fan adapter (In this kits this part is white, not black as shown), and insert an M3 nut into the slot on it as shown.
-
Attach the layer fan to the bottom of your Y carriage using a single M3 x 6mm button head bolt. (Image is shown off of a printer for clarity)
-
-
-
The Y endstop and part cooling fan share a cable harness, so we need to install them at the same time.
-
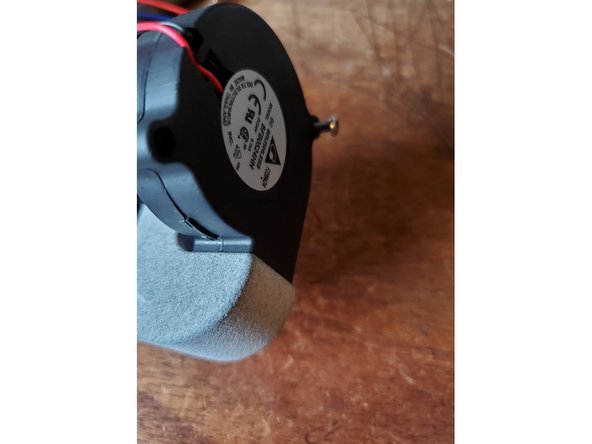
Attach the 5015 blower to the JT shroud using a 20mm Button Head Bolt.
-
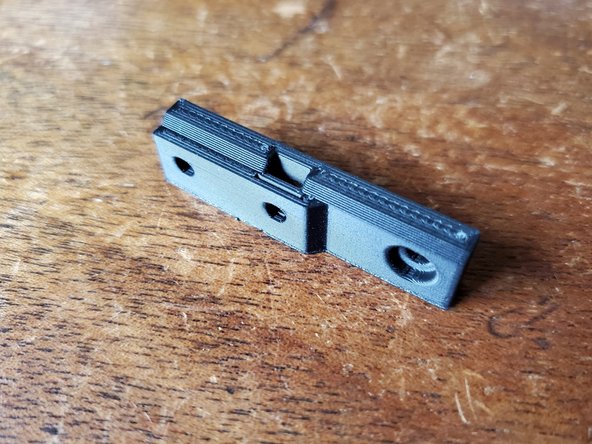
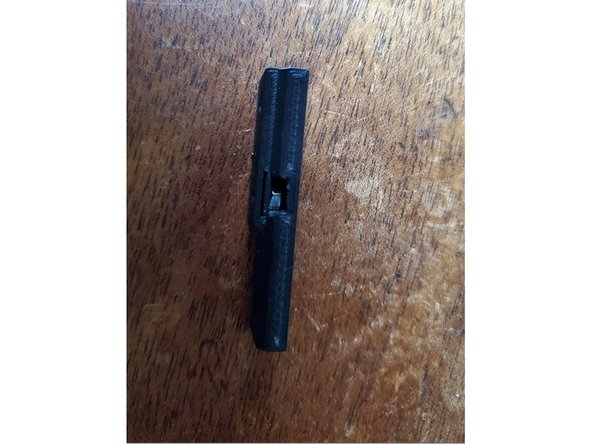
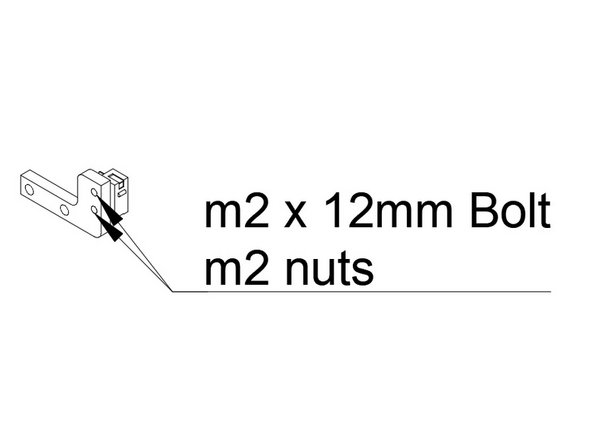
Attach the Y endstop switch to the Y endstop mount using (2) m2 x 12mm Bolts and (2) m2 nuts.
-
-
-
Start by attaching the Layer fan and shroud. Attach the Layer fan to the bottom of the adapter using one m3x8mm Button head bolt into the rear hole (the one going to the m3 washer) and one m3 x 12mm Button head bolt that will pass through the other hole and into the brass insert in the Y carriage.
-
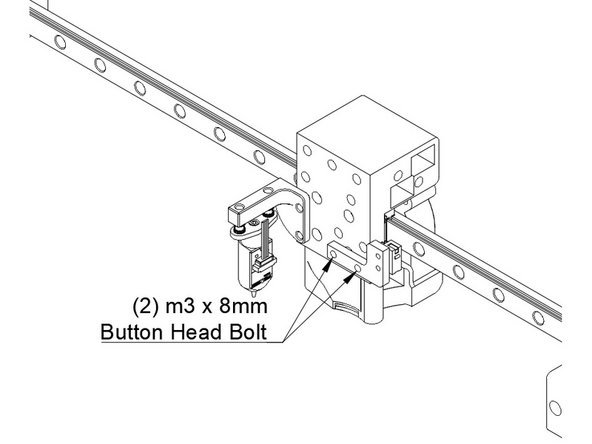
Attach the Y endstop mount to the bottom right two holes in the Y carriage using (2) m3 x 8mm Button Head Bolts
-
-
-
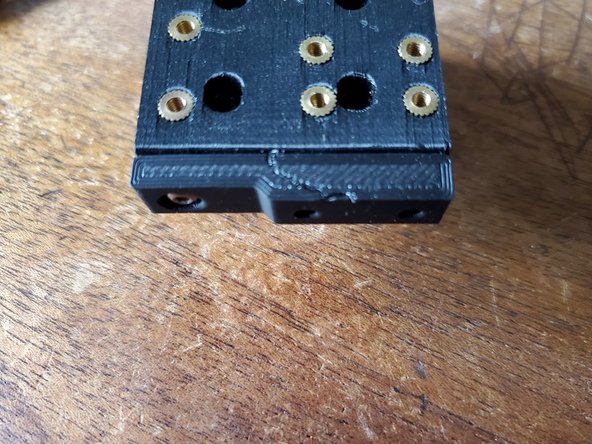
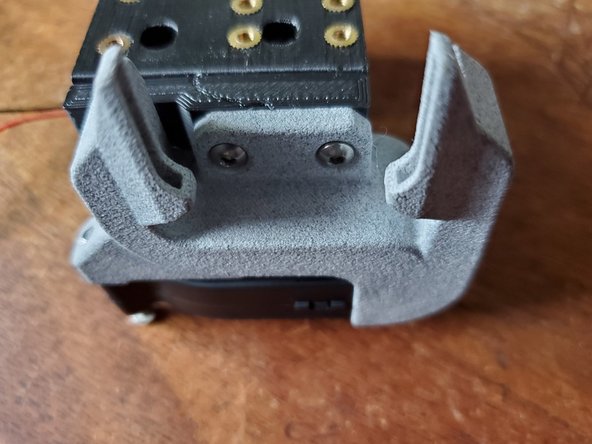
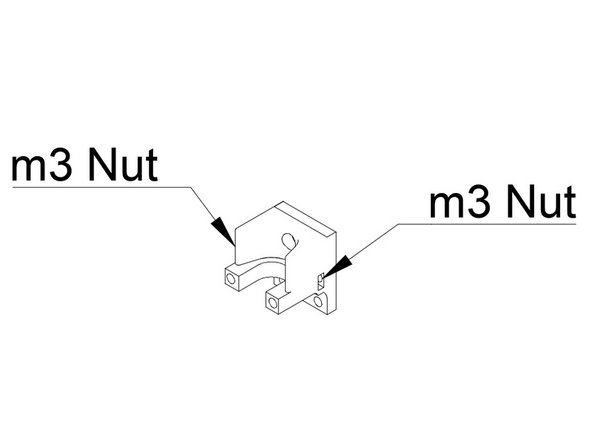
Insert one m3 nut into each side of the printed hotend mount. They can be hard to push in, using a screwdriver can help.
-
Push an allen wrench down through the bolt holes for attaching the hotend to center the M3 nuts, it will make threading a bolt in easier.
-
-
-
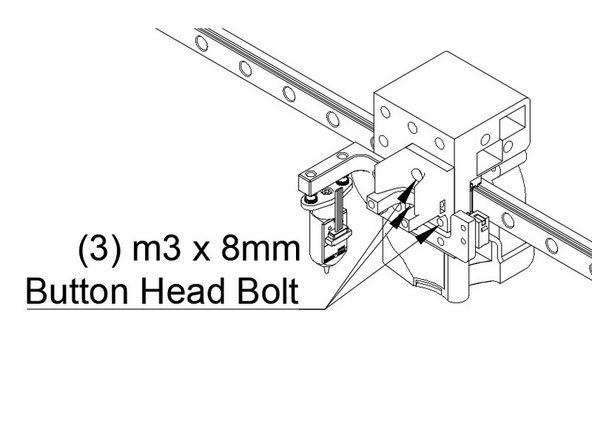
Attach the hotend mount to the Y carriage using (3) m3 x 8mm button head bolts. (Socket Cap Head Screws will not work for the bottom two, use Button Head regardless of the kit you're building)
-
-
-
Attach the BMG mount to the hotend mount using (4) m3 x 8mm Button Head Bolts.
-


Cancel: I did not complete this guide.
19 other people completed this guide.