
-
-
You may need to loosen the bottom corner cubes and base acrylic panel. This will ensure all mating faces are not under tension.
-
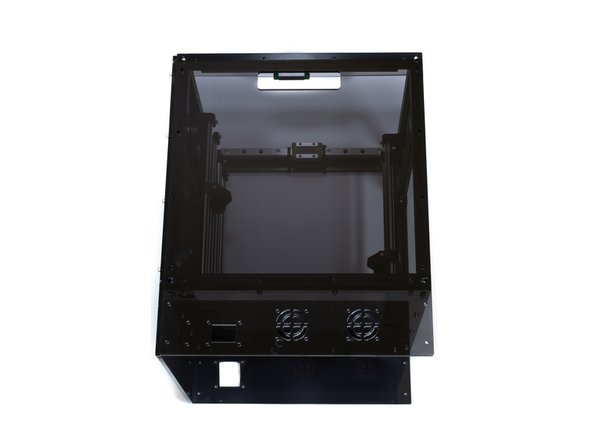
Using (16) M3 x 10 socket head screws and (16) M3 washers attach the front acrylic panel.
-
-
-
Using (16) M3 x 10 socket head screws and (16) M3 washers attach the right acrylic panel.
-
-
-
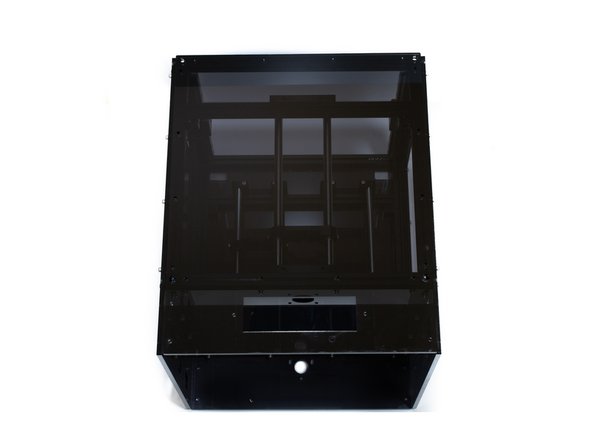
Using (16) M3 x 10 socket head screws and (16) M3 washers attach the rear acrylic panel.
-
-
-
Using (16) M3 x 10 socket head screws and (16) M3 washers attach the left acrylic panel.
-
Tighten the corner cubes and panels you may have loosened.
-
-
-
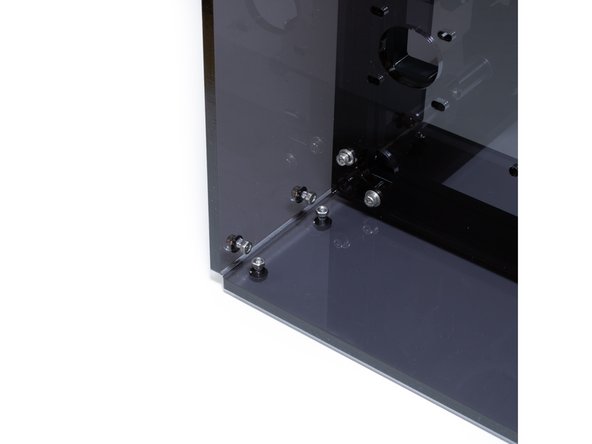
Insert (4) M3 x 10 socket head screws and (4) M3 washers into each corner.
-
Thread (4) M3 nuts onto the screws you inserted.
-
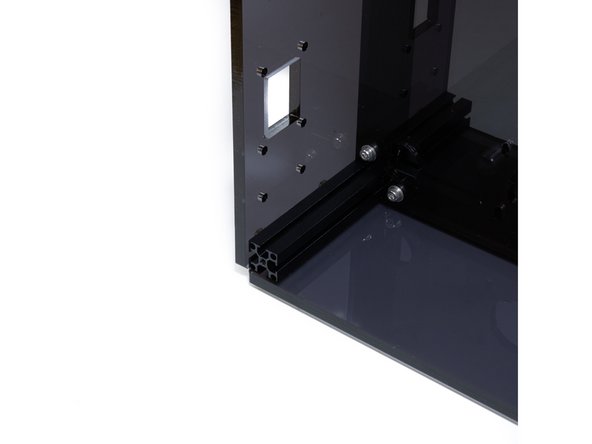
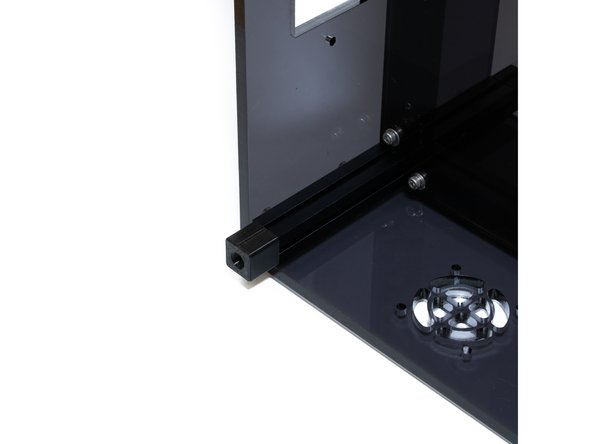
Slide the 73 mm 1515 extrusion on the (4) M3 nuts and tighten the socket head screws.
-
Attach the printed foot to the bottom of the extrusion using a M3 x 10 socket head screw.
-


Cancel: I did not complete this guide.
One other person completed this guide.