Difficulty
Moderate
Steps
5
Time Required
- K) Y Carriage 5 steps

In Progress
This guide is currently being written. Reload periodically to see the latest changes.

User-Contributed Guide
This guide is not managed by the site's staff.

Private
This guide will not appear in search results and can only be viewed by team members!
Quiz
0
Tools
No tools specified.
Parts
- Mini Harness W16
- Printed Mini Y Carriage
- Printed Layer Fan Adapter
- Printed Cooling Shroud
- BLTouch Sensor
- M3 Washer × 2
- Y Endstop Mount
- M3 Brass Insert × 2
- M3 x 20 Socket Head Screw × 2
- M3 x 8 Socket Head Screw × 4
- M2 Nut × 2
- M2 x 12mm Bolt
- M3 Nut
- M3 x 6mm button head bolt
- M3 x 12mm Button Head Bolts
- M3 x 8mm Button Head Bolt
- M3 Nylock Nut × 2
-
-
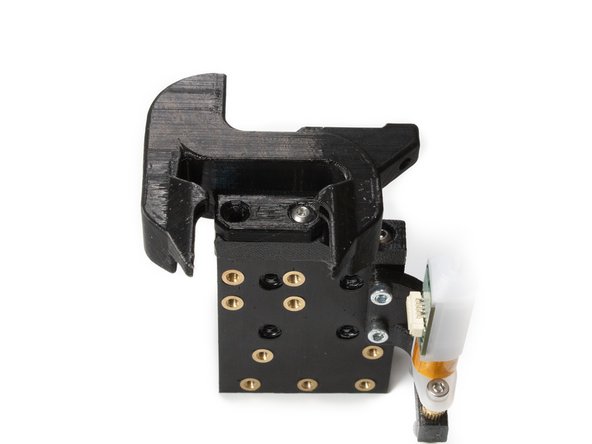
Before you anything to the Y carriage, double check that all the brass inserts are in.
-
Remove the wiring that comes pre-installed on the bltouch by disconnecting the connector. The kit wiring harness has a connector, these wires are not needed.
-
Put (2) m3 x 2 socket head screws pointing up through the holes in the BLTouch.
-
Thread a brass insert down on the bolt, tight against the BLTouch.
-
Pass the bolt up through the BLTouch mount.
-
Put a single M3 washer on each screw, and then an M3 nylock nut.
-
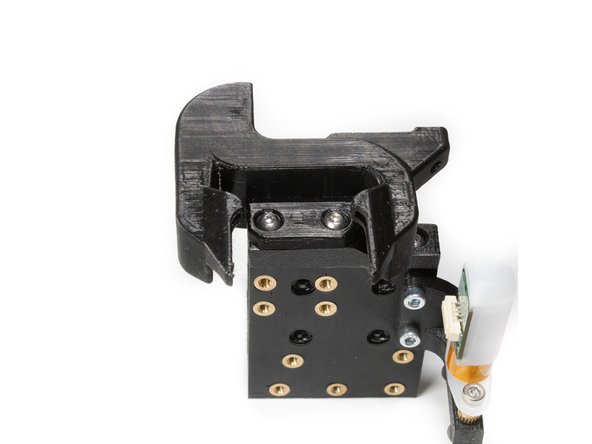
Attach the BLTouch mount to the printed Y carriage using (2) M3 x 8 socket head screws.
-
-
-
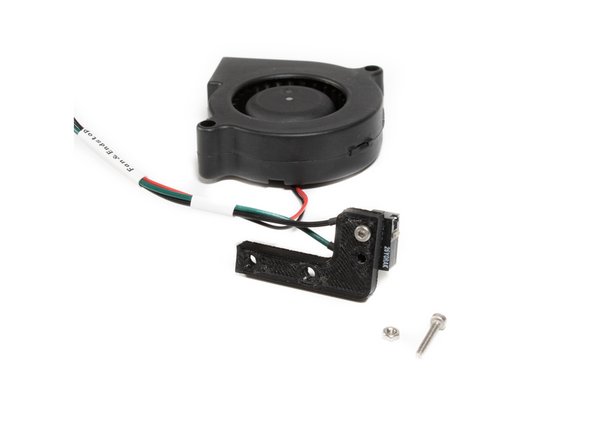
Locate the printed layer fan adapter, and insert an M3 nut into the slot on it as shown.
-
Attach the layer adapter to the bottom of your Y carriage using a single M3 x 6 button head bolt.
-
-
-
Attach the printed layer fan shroud to the adapter using (1) M3 x 8 button head screw into the hole that has the M3 nut you installed earlier.
-
Insert (1) M3 x 12 button head screw in the remaining hole to finish installing the layer fan shroud.
-
-
-
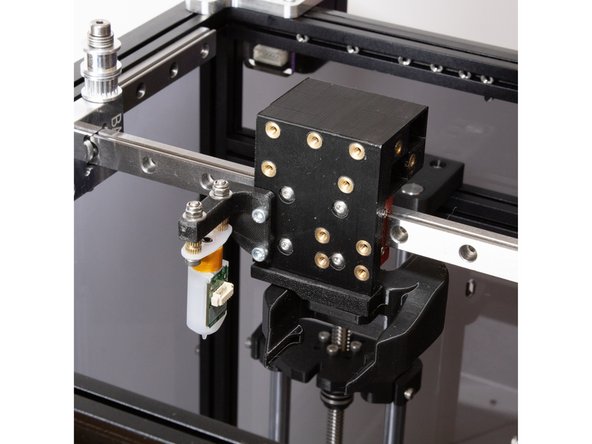
The Y endstop and part cooling fan share a cable harness (W16).
-
Attach the Y endstop switch to the Y endstop mount using (2) m2 x 12mm Bolts and (2) m2 nuts.
-
-
-
Insert wisdom here.
-