Tools
No tools specified.
Parts
- 245mm Linear Rail
- Back X Carriage
- Front X Carriage
- 25mm Shoulder Bolt × 2
- M5 Washer × 8
- 2GT x 5mm Bore Smooth Idler × 2
- 2GT 20T x 5mm Bore Toothed Idler × 2
- 5mm Shim × 6
- M3 x 8 Socket Head Screw × 8
- M3 x 16 Socket Head Screw × 2
- M3 x 10 Socket Head Screw × 2
- Round Metal Spacer × 2
- Flat Metal Spacer × 2
-
-
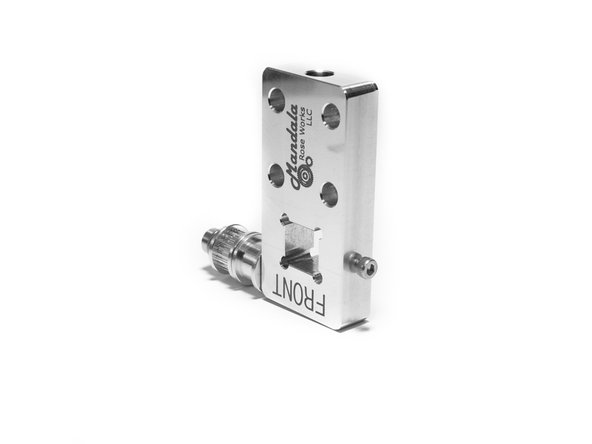
To prep for the Y rail installation we need to assemble the X carriages and idlers. Locate the X carriage labelled as the "Front".
-
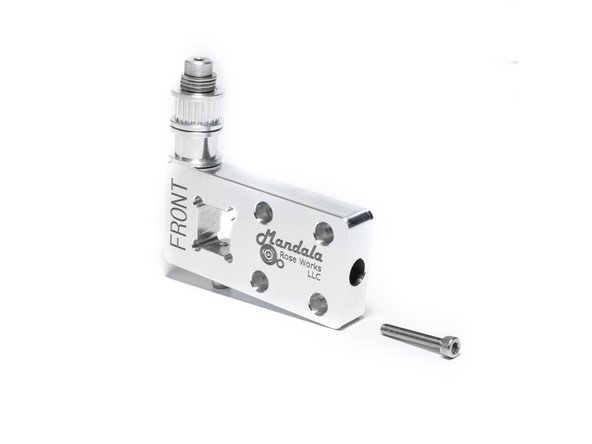
Begin by holding the shoulder bolt so the threads are pointed up. Place (3) M5 washers on the bolt, followed by (1) M5 shim. Next put on a toothed idler. Then another M5 shim, then a smooth idler, followed by a final M5 Shim.
-
Visually look to see that the final shim is very close to level with the "shoulder" of the bolt.
-
If there's a gap, see if it's best filled by a shim, or a washer. You want to place those before the first shim you put on.
-
If instead the shim sticks out past the shoulder, you may need to remove a washer and replace it with a shim.
-
Once the "stack" is level with the shoulder, thread it into the X carriage (I leave the shoulder bolt pointing up, and turn the X carriage down onto it, being careful not to cross-thread it).
-
The shoulder must be tight against the X-Carriage, with as little vertical play as possible. If the idlers don't spin smoothly, it's too tight and you need to remove a washer or shim. THERE MUST ALWAYS BE A SHIM DIRECTLY AGAINST EACH SIDE OF THE IDLERS.
-
-
-
Locate the X carriage labelled as the "Back".
-
Assemble the back X carriage the same way as the front, but note the smooth and the toothed pulleys are reversed now.
-
-
-
Insert (1) M3 x 10 socket head screw in the bottom of each carriage.
-
Insert (1) M3 x 16 socket head screw in the size of each carriage.
-
-
-
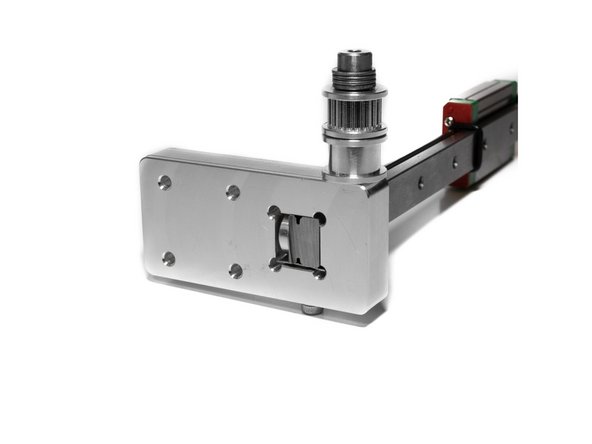
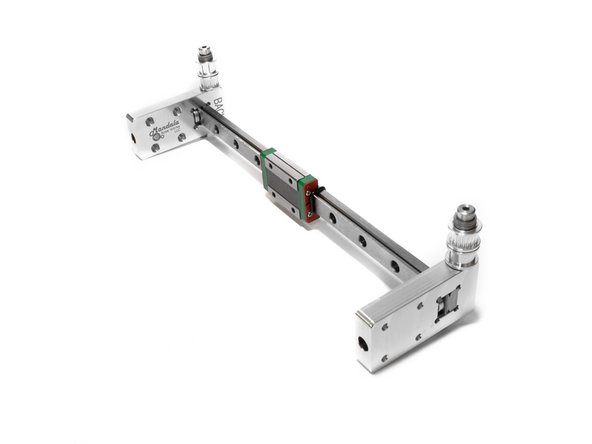
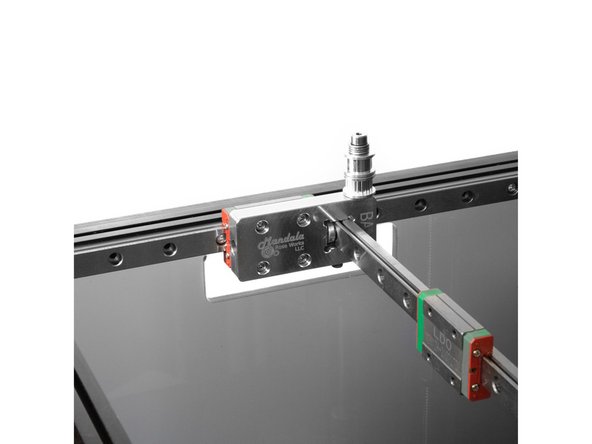
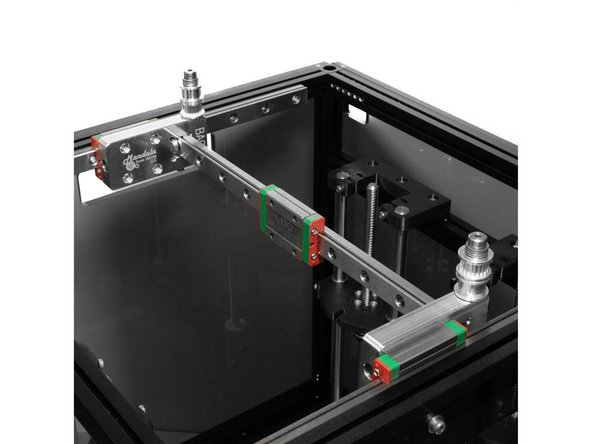
To insert the Y rail into the X carriages it gets oriented as in the image. Be sure the "inside' faces with the text milled into them face each other. The line engraved in the linear guide block should be facing up (this should also put any laser engraved text right side up) take a moment to ensure all 3 rails are oriented correctly.
-
There is a round metal spacer that goes between the Y rail and the horizontal part of the carriage. Lightly tighten the horizontal M3 bolt to hold it in place.
-
There is a flat aluminum spacer that goes under the Y rail. Lightly tighten vertical bolt under the Rail against that spacer.
-
-
-
Attach the X carriages to the X rails using (4) M3 x 8mm Button head bolts each.
-
Cancel: I did not complete this guide.
One other person completed this guide.


