-
-
Remove the M12 nut from the Revo and insert the threaded side into the printed mount and re-attach the M12 retaining nut.
-
Remove the collet and insert a portion of 50mm PTFE tube and reinstall the collet.
-
-
-
Using 4 M3 x 12 button head screws, install the LGX Lite on the printed extruder mount in the orientation shown in the pictures.
-
Button head screws must be used for the previous step.
-
Install the assembled extuder and mount on the printed carriage using 4 M3 x 10 socket head screws.
-
-
-
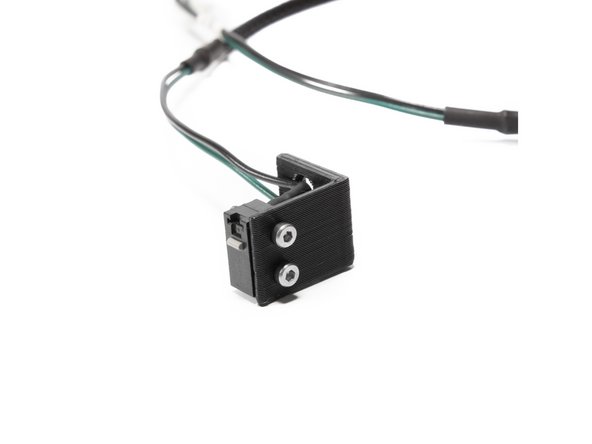
Attach the X endstop (it comes pre-wired) to the printed X endstop mount using (2) M2 x 12 socket head screws and (2) M2 Nuts
-
Don't worry about the wire for now, it's routed later.
-
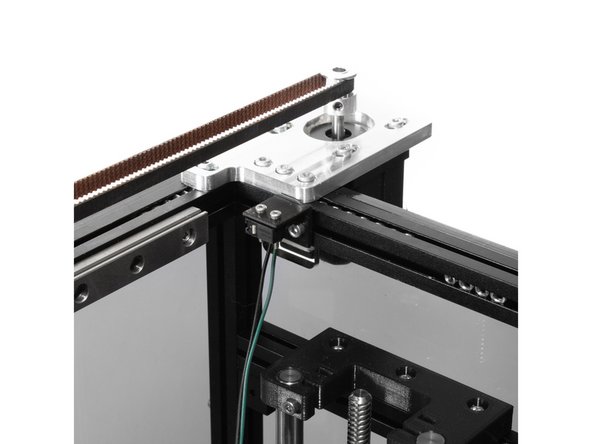
Mount the X endstop to the rear right corner of the frame, on the right inside extrusion, using (2) M3 x 8mm socket head screws and (2) M3 washers.
-
Don't worry about exact placement for now, it will be adjusted later.
-