Tools
No tools specified.
Parts
- 245mm Linear Rail
- Back X Carriage
- Front X Carriage
- 25mm Shoulder Bolt × 2
- M5 Washer × 8
- 2GT x 5mm Bore Smooth Idler × 2
- 2GT 20T x 5mm Bore Toothed Idler × 2
- 5mm Shim × 6
- M3 x 8 Socket Head Screw × 8
- M3 x 16 Socket Head Screw × 2
- M3 x 10 Socket Head Screw × 2
- Round Metal Spacer × 2
- Flat Metal Spacer × 2
-
-
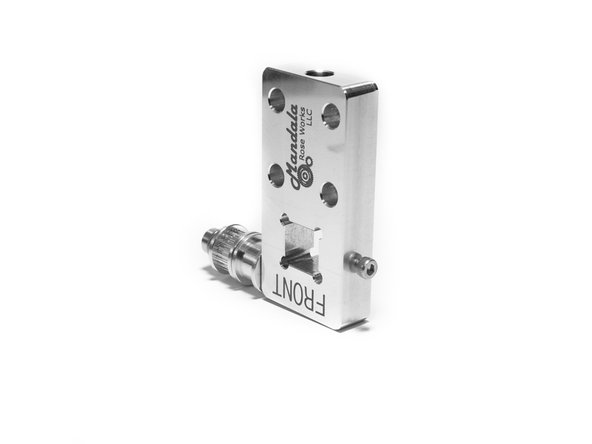
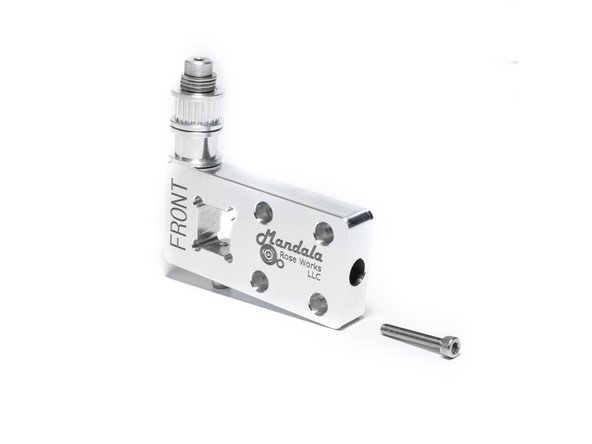
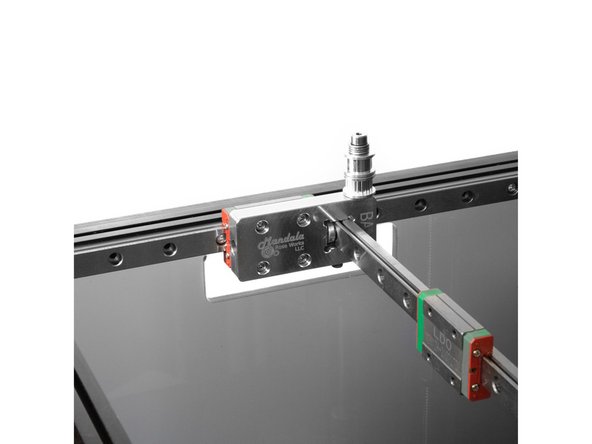
To prep for the Y rail installation we need to assemble the X carriages and idlers. Locate the X carriage labelled as the "Front".
-
Begin by holding the shoulder bolt so the threads are pointed up. Place (3) M5 washers on the bolt, followed by (1) M5 shim. Next put on a toothed idler. Then another M5 shim, then a smooth idler, followed by a final M5 Shim.
-
Visually look to see that the final shim is very close to level with the "shoulder" of the bolt.
-
If there's a gap, see if it's best filled by a shim, or a washer. You want to place those before the first shim you put on.
-
If instead the shim sticks out past the shoulder, you may need to remove a washer and replace it with a shim.
-
Once the "stack" is level with the shoulder, thread it into the X carriage (I leave the shoulder bolt pointing up, and turn the X carriage down onto it, being careful not to cross-thread it).
-
The shoulder must be tight against the X-Carriage, with as little vertical play as possible. If the idlers don't spin smoothly, it's too tight and you need to remove a washer or shim. THERE MUST ALWAYS BE A SHIM DIRECTLY AGAINST EACH SIDE OF THE IDLERS.
-
-
-
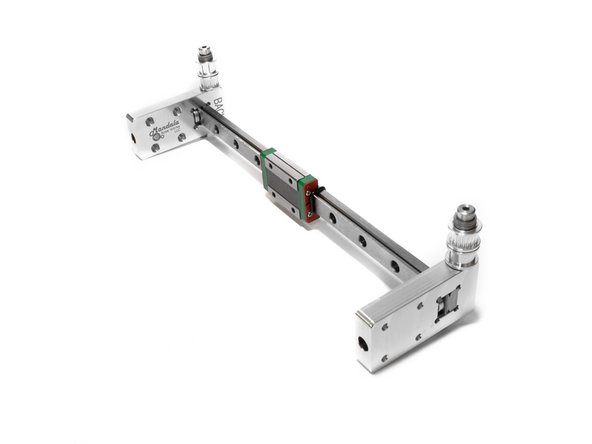
Locate the X carriage labelled as the "Back".
-
Assemble the back X carriage the same way as the front, but note the smooth and the toothed pulleys are reversed now.
-
-
-
Insert (1) M3 x 10 socket head screw in the bottom of each carriage.
-
Insert (1) M3 x 16 socket head screw in the size of each carriage.
-
-
-
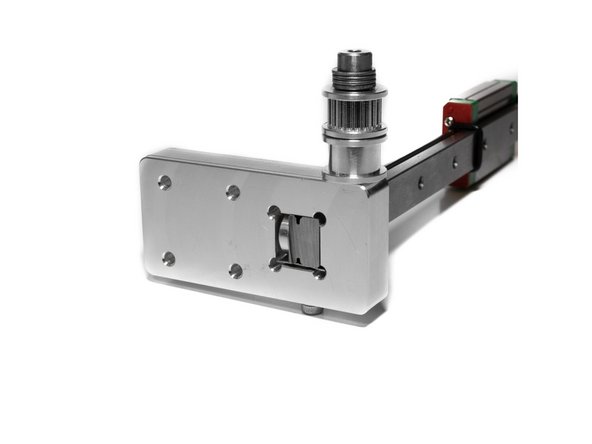
To insert the Y rail into the X carriages it gets oriented as in the image. Be sure the "inside' faces with the text milled into them face each other.
-
There is a round metal spacer that goes between the Y rail and the horizontal part of the carriage. Lightly tighten the horizontal M3 bolt to hold it in place.
-
There is a flat aluminum spacer that goes under the Y rail. Lightly tighten vertical bolt under the Rail against that spacer.
-
-
-
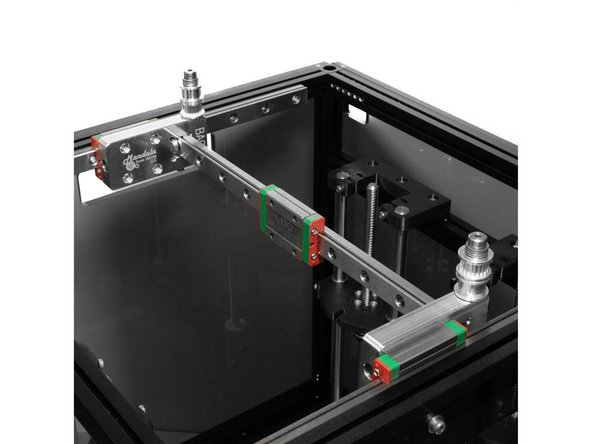
Attach the X carriages to the X rails using (4) M3 x 8mm Button head bolts each.
-