-
-
Compress the anti-backlash nut and thread it onto the leadscrew. Once the threads are fully through the nut, release the tension on the spring.
-
Thread the nut half way up the leadscrew.
-
-
-
Using (4) M3 x 10 socket head screws and (4) M3 washers attach the stepper motor to the base.
-
For easy cable management later, point the cable plugs toward the rear of the machine.
-
If your Z towers are still loose, make sure they are centered over the mounting holes for the stepper motors before installing the motors.
-
-
-
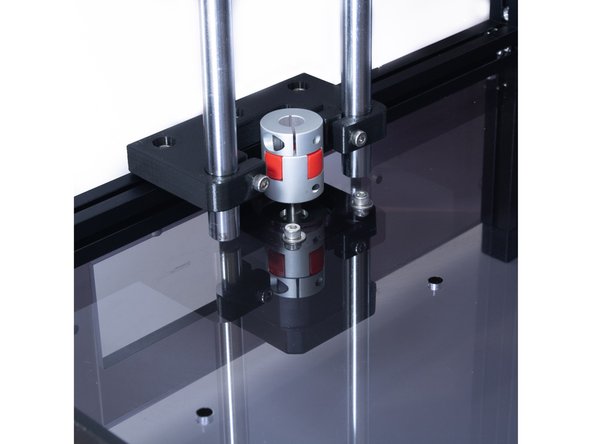
Slide the small side of the coupler on the stepper shaft and tighten the set screw on the bottom half.
-
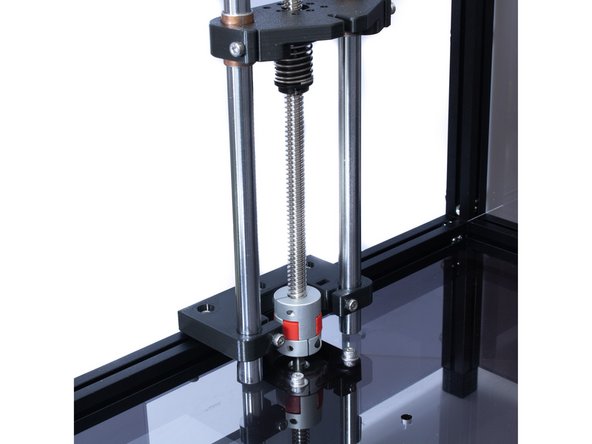
Raise the Z yoke and slide the leadscrew up through the yoke.
-
Set the leadscrew in the top half of the coupler and tighten the set screw.
-
Slide the yoke half way down the Z tower so it is flush with the top of the anti-backlash nut.
-
-
-
Using (4) M3 x 10 socket head screws, attach the Z Yokes to the anti-backlash nuts.
-
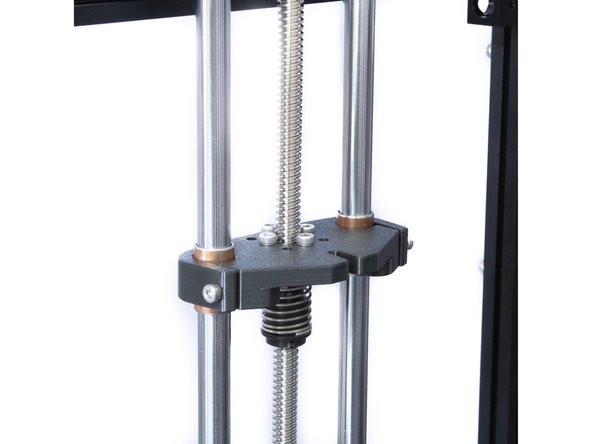
If your Z towers are still loose, or not aligned with the leadscrew, now is the time to align and tighten them.
-
Turn the coupler by hand to make sure the yoke move freely.
-
Be careful when tightening the screw attaching the yokes to the anti-backlash nuts. POM will easily strip if you are not careful.
-