Difficulty
Moderate
Steps
6
Time Required
- G) Sides Installation 6 steps

In Progress
This guide is currently being written. Reload periodically to see the latest changes.
Quiz
0
-
-
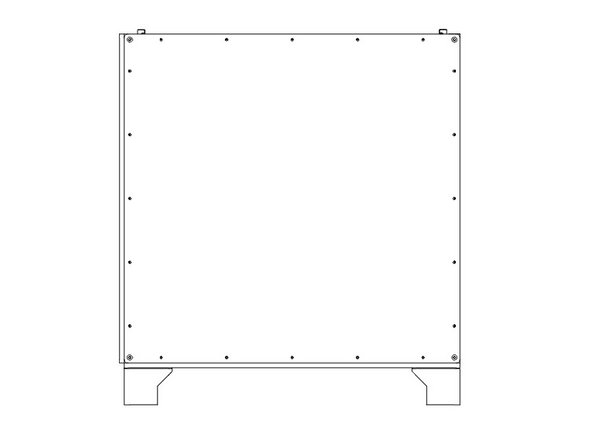
Flip the printer frame upside down, to install the bottom panel first.
-
It's important the two holes are on the same side as the two Z towers (left side), and the "shiny" side of the panel faces out.
-
It's easiest to start by lining up the bolts close to where they'll need to be. Then start from one corner and work your way along the sides. Needle nose pliers can help to line the bolts up with the holes.
-
-
-
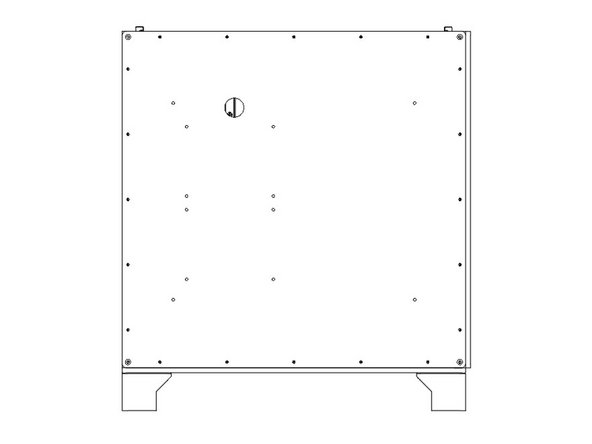
Lay the printer front down on some blocks to protect the bolts.
-
I'ts important that when looking down at the printer as in the picture, the two Z towers are on the Right side of the image.
-
The "textured" side of the HDPE panel should face out, shiny side in.
-
Install the back panel using (20) M3 Nylon Lock Nuts, in the same method as before. Do not fully tighten the nuts yet.
-
-
-
Lay the printer Right side down on some blocks to protect the bolts.
-
It's important that this panel goes on the left end of the printer, which is the end with two Z towers.
-
The "textured" side of the HDPE panel should face out, shiny side in.
-
Install the left panel using (20) M3 Nylon Lock Nuts, in the same method as before. Do not fully tighten the nuts yet.
-
-
-
Lay the printer left side down on some blocks.
-
It's important that this panel goes on the side with the single Z tower. Note the position of the hole for the cables to pass through.
-
The "textured" side of the HDPE panel should face out, shiny side in.
-
Install the Right panel using (20) M3 Nylon Lock nuts, in the same method as before. Do not fully tighten the nuts yet.
-
-
-
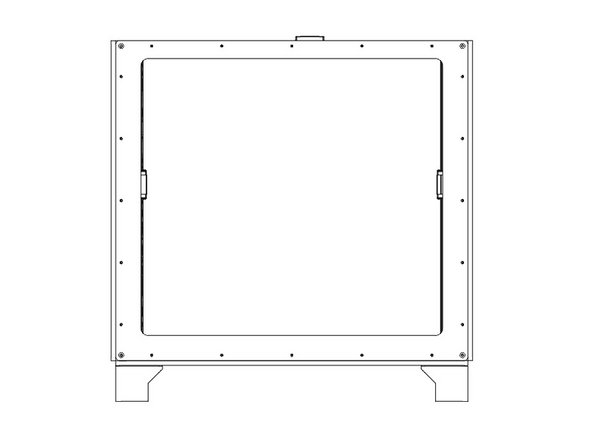
Front Panel Installation
-
-
-
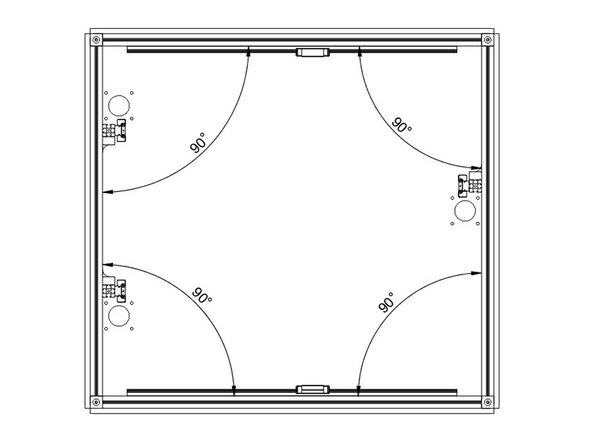
Tips for Squaring your Frame
-
Tighten Frame Nuts
-