Difficulty
Moderate
Steps
5
Time Required
- H) Leadscrews and Z Yokes 5 steps

In Progress
This guide is currently being written. Reload periodically to see the latest changes.
Quiz
0
-
-
Install the (3) 1.8 degree Z steppers into the bottom panel using (4) M3 x 10mm button head bolts per stepper. The connectors should point towards the right side of the printer.
-
It's important the Z towers are positioned on the correct side of the steppers, as is shown in the picture.
-
-
-
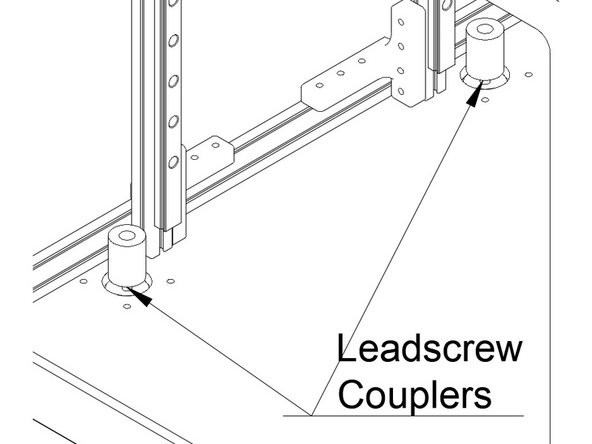
Install the Leadscrew couplers onto the Z stepper shafts. The couplers should be fully seated and tightened.
-
-
-
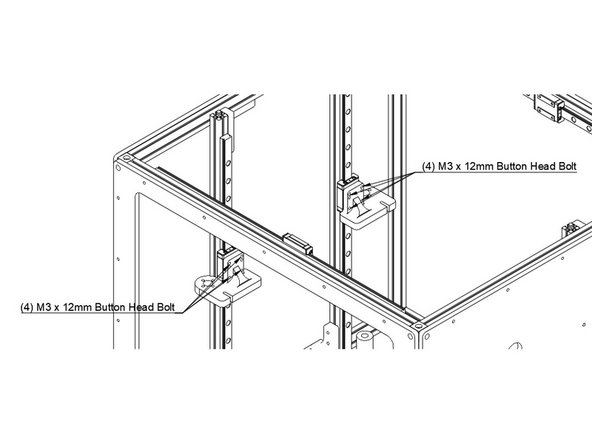
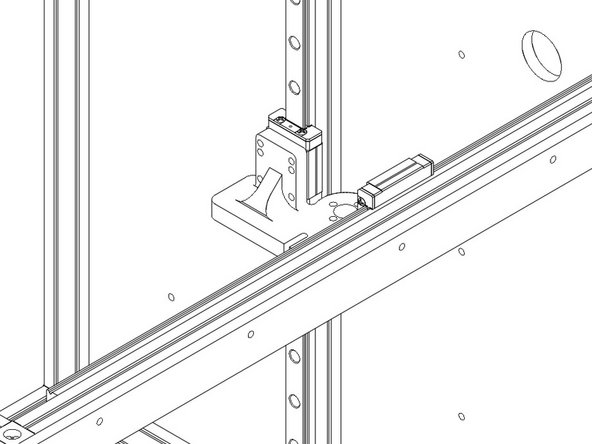
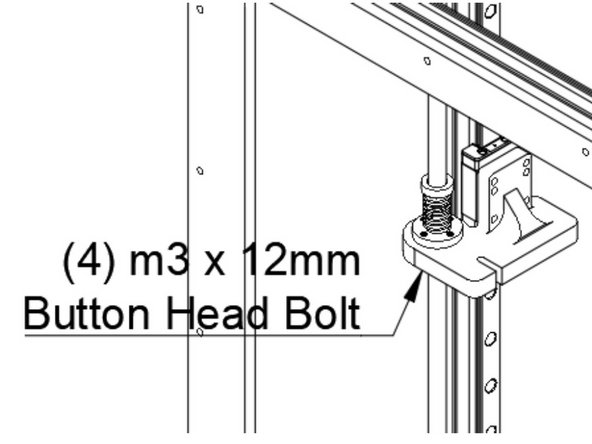
Install the (3) Z Yokes onto the Z carriages using (4) M3 x 12mm Button Head Bolts each. Note the orientation of the yokes in the pictures, so the hole for the leadscrew lines up over the stepper.
-
-
-
Install the anti-backlash nut onto the leadscrew.
-
Thread the bottom half (with the flange) down onto the screw until just the teeth are sticking up past the end of the leadscrew.
-
Put the spring on onto the bottom of the leadscrew nut.
-
Insert the top of the leadscrew nut, pushing down until the teeth inerlock.
-
Continue threading the nut on, until it's about 1/3 of the way down the leadscrew.
-
-
-
Leadscrews
-