Introduction
It's assumed that you're building a kit from Filastruder, and you've completed all previous sections. At the end of this section you should have a complete frame assembled for your RailCore.
Tools
No tools specified.
-
-
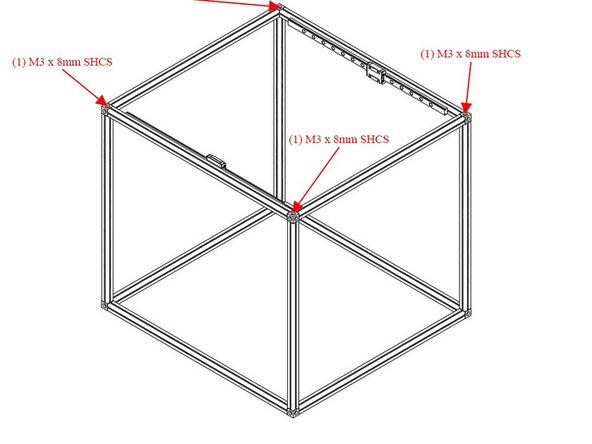
Use (1) M3 x 8mm Socket Cap Head Screw to attach each of the (4) 415mm (715mm for ZLT) upgright extrusions to the corner cubes on the bottom frame assembly. Note: It can be helpful to prop the bottom frame assembly up on some old filament spools so that the upright extrusions remain vertical.
-
-
-
Slide (5) M3 x 10mm hex head head bolts in both of the outside channels on each upright extrusion.
-
For the ZLT you need (7) M3 x 10mm hex head bolts in each channel instead of (5). These bolts are in the ZLT supplement bag.
-
-
-
Use (4) M3 x 8mm Socket Cap Head Screws to attach the top extrusion assembly to the upright extrusions.
-
Congratulations! You've completed the frame assembly for your RailCore II 300ZL/300ZLT.
-